Start with a part, not a platform label
“Fits Low Rider” is too broad to settle a purchase. A front fender attaches in a different area from a tank cover; a rear fender interacts with a different group of components again. A useful compatibility answer identifies the exact product and the motorcycle configuration it has been checked against.
Low Rider S and Low Rider ST are related model names, but that relationship does not make every bodywork component interchangeable. Model-year changes and surrounding equipment can matter even when two motorcycles look similar in a photograph. This guide is a way to gather the right information, not a universal S-to-ST interchange chart.
Record the motorcycle accurately
Use the model year and exact model designation from the motorcycle’s documents. If the bike has been modified, distinguish its original identity from the equipment now fitted. A seller’s description, custom paint or a changed fairing is not a reliable substitute for the original model information.
Write down the details once and keep them with your build notes. Include the part you want, the current component in that location, and the relevant factory or aftermarket changes. This is more useful than sending a full-bike image with “will this fit?” and leaving the installation area unidentified.
Check the installation area
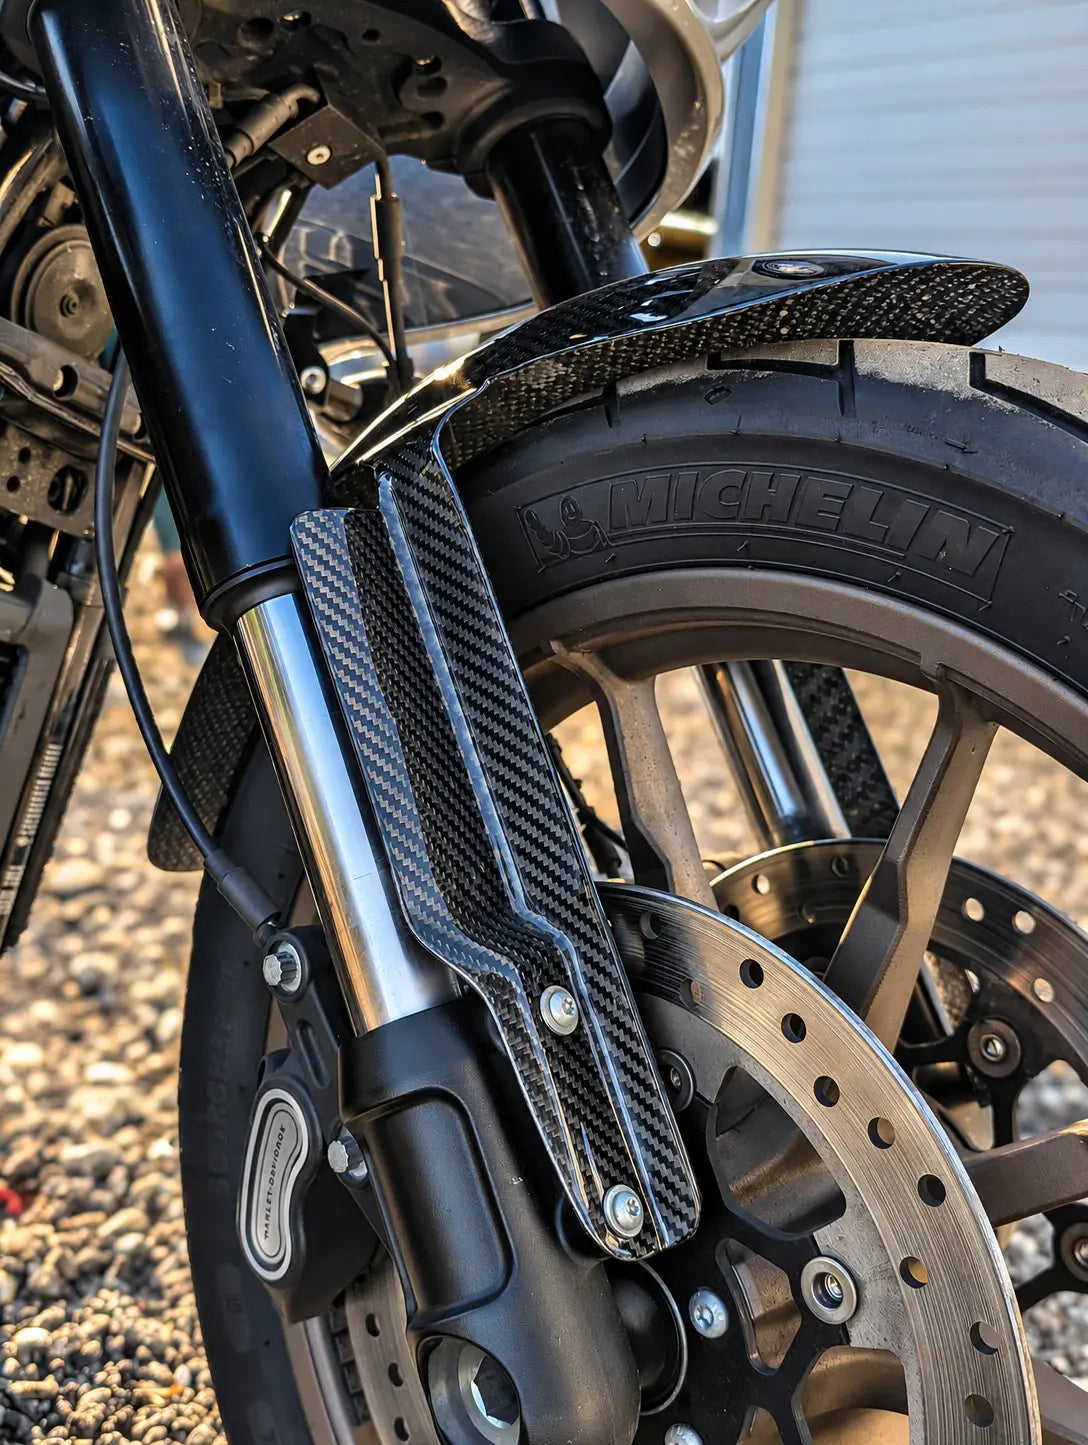
Front fender
Record wheel diameter, tire size and any changes to the forks, suspension or fender mounts. Appearance alone cannot establish moving clearance. Read the front-fender buying checklist before comparing the front fender.
Tank centre cover
Look at the console, surrounding trim and the piece the cover is intended to replace or cover. Confirm the attachment method and relevant clearances. Two tanks that look alike from the side may still present different details at the centre.
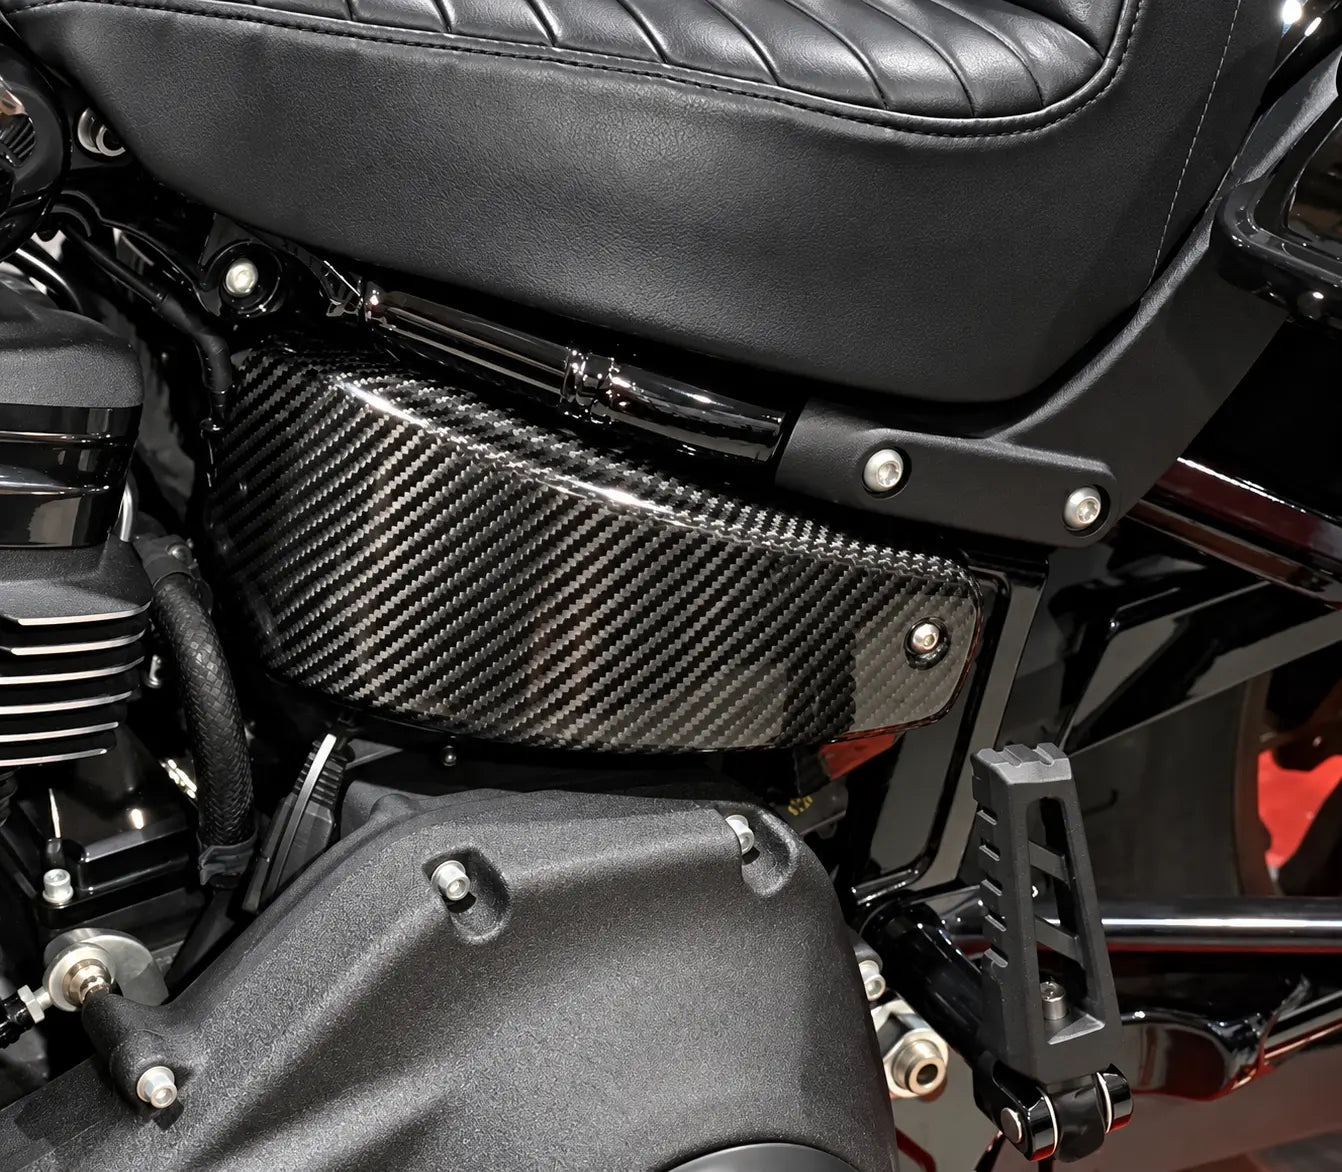
Battery-cover area
Identify the side and the current panel, any adjacent accessories, and how the existing cover is retained. Confirm whether the selected product is one piece or a set. The product name alone is not a package-content list.
Rear fender
Include the seat, lighting, plate mount, luggage hardware and any changes around the rear bodywork. A photograph without bags or a passenger arrangement should not be treated as evidence for a different setup. The rear-fender page explains the styling role; fitment still needs its own answer.
Make photographs useful
Send one whole-bike view for context, one clear view of the installation area and close-ups of the attachment points or adjacent modifications. Photograph both sides when the question concerns side covers or rear hardware. Keep the camera square to the detail where possible, rather than relying on a dramatic wide-angle view.
If a measurement is requested, state where it begins and ends and the units used. A ruler in a photograph can help explain a location, but it does not replace the dimensions or clearances specified for an installation. Never disassemble a safety-critical component solely to take an enquiry photograph.
Get a product-specific answer
Harley-Davidson’s own accessory installation guidance directs owners to model fitment information and the appropriate year/model service manual. Apply the same discipline when evaluating aftermarket bodywork: exact part, exact motorcycle, correct instructions.
Before buying, establish the supplied pieces, reused hardware and any required modification. A matching mounting-hole count is not proof that a part suits the whole installation. If compatibility has not been established, treat it as an unanswered question rather than a yes.
Does one installed photograph prove S and ST fitment?
No. It shows appearance on that particular motorcycle. It does not establish another model year, another mounting arrangement or the clearance around added accessories.
Use the fitment enquiry form to send your motorcycle and part details to Carbon Syndicate. Once compatibility is settled, compare patterns and finishes.